

The essentials
An elevated reservoir can move water without a pump, but that does not mean every emitter will work correctly. Gravity-fed systems often operate at low pressure, and the pressure available at an emitter changes with water level, elevation, friction losses, total flow demand and emitter design.
This guide uses a diagnostic sequence: check available pressure first, then emitter compatibility, then actual flow, and finally restrictions or clogging.
Quick diagnosis
If flow is weak or some emitters do not run:
1. Head height and available pressure
Hydrostatic pressure depends on the vertical difference between the free water surface and the measurement point. A useful approximation is:
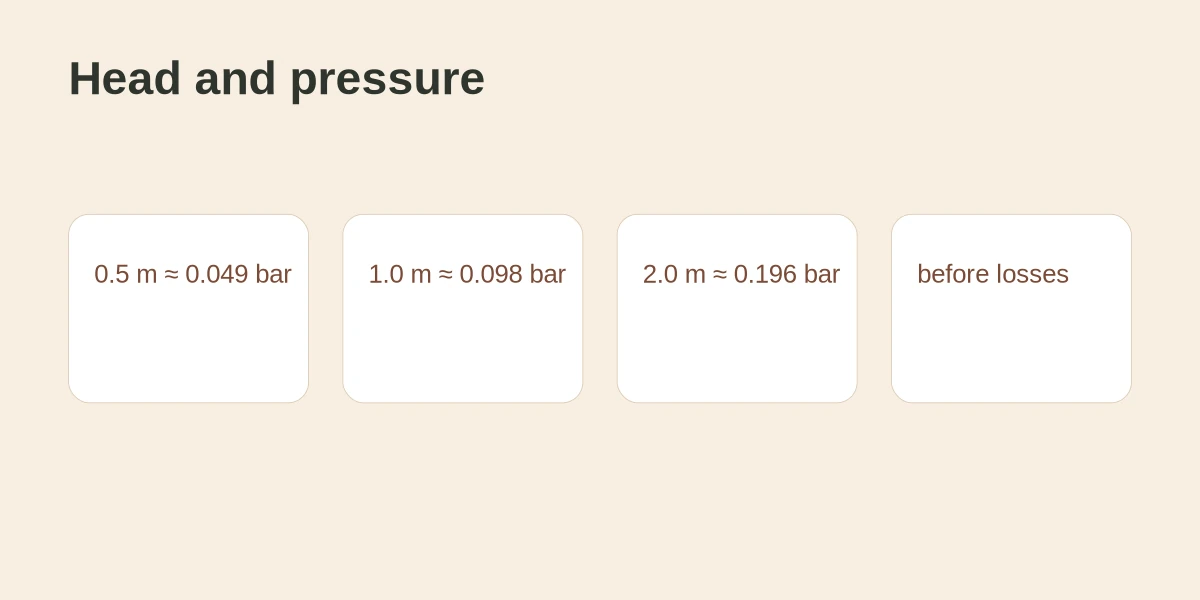
1 metre of water column ≈ 0.098 bar ≈ 1.42 psi.
A reservoir whose water surface is only 0.5 m above the emitters therefore provides roughly 0.049 bar of static pressure before losses. The useful reference is the water surface, not the bottom of the tank, and available pressure falls as the tank empties.
2. Static pressure versus working pressure
Static pressure is measured when water is not moving. Working pressure is what remains while the system operates.
With multiple emitters open, pressure is lost through the tank outlet, valves, filters, fittings, mainline, microtubing and elevation changes. A setup may therefore look acceptable with one outlet open but underperform when many emitters run together.
3. Check whether the emitters suit low pressure
Emitters are not interchangeable. Some pressure-compensating models require a minimum pressure before regulation works properly. Oklahoma State University documents pressure-compensating emitters operating in ranges much higher than a small elevated tank normally provides.
For a gravity-fed system, check product data for `low pressure`, `gravity compatible`, `minimum operating pressure` or the pressure-compensating range.
If an emitter requires 10 psi while the installation only provides around 1–2 psi before losses, cleaning alone will not solve the mismatch.
4. Test with the line open
Close the supply, disconnect emitters or open the lateral end, reopen the tank and observe unrestricted flow. If flow is weak even with the line open, inspect the tank outlet, valve, filter, tubing diameter and kinks. If open-line flow is reasonable but falls sharply after emitters are installed, emitter compatibility or total system demand becomes a leading suspect.
5. Measure instead of diagnosing by eye
Partial clogging can be hard to see. UC ANR recommends collecting discharge from a sample of emitters for a known period to detect reduced output. Compare the start, middle, end and highest point using the same collection time. VETIKA A06 covers the measurement procedure in detail.
6. Look for patterns

All emitters have low flow
Possible causes include insufficient head, low-pressure incompatibility, a restrictive tank outlet, blocked filter, too many emitters operating together or undersized tubing.
The first emitters work but the last ones barely flow
UC ANR notes that emitters farther along a line may discharge less because of friction losses, while elevation differences can also change discharge. Check line length, internal diameter, branches, elevation and sediment at the ends.
Only a few emitters fail
Suspect individual clogging or a local restriction. Fine particles may pass through some filters and settle where velocity is lower. Physical, biological and chemical clogging mechanisms are all documented in microirrigation guidance.
7. Inspect the filter and stored water
Emitter passages are small. Oklahoma State University highlights water quality and filtration as critical because emitters can be blocked by small contaminants. Stored water may contain sediment, plant debris, algae, precipitates or biofilm.
Do not remove filtration simply to gain pressure. If the emitter needs filtered water, removing the filter may turn a pressure problem into a clogging problem.
8. Flush the lines
Open lateral ends and allow water to carry accumulated material out. UC ANR recommends periodic flushing because fine particles can pass through filters and later settle inside lines. In a small system, compare flush water at the beginning and end and record visible debris.
9. Reduce demand to identify the system limit
As a diagnostic test, split 20 pots into two zones of 10. If each zone works alone but both fail together, the setup is reaching a hydraulic limit: available pressure, outlet capacity, tubing or total emitter demand.
10. Will raising the tank fix it?
It can help because greater head increases hydrostatic pressure, but it is not a universal fix. Raising the tank will not repair a clogged emitter, saturated filter, partly closed valve, kinked tube or an emitter whose minimum operating pressure is still far above what the system can supply.
An elevated reservoir must also be supported safely. 100 litres of water weighs about 100 kg, before adding the tank and supporting structure.
11. Diagnostic decision tree
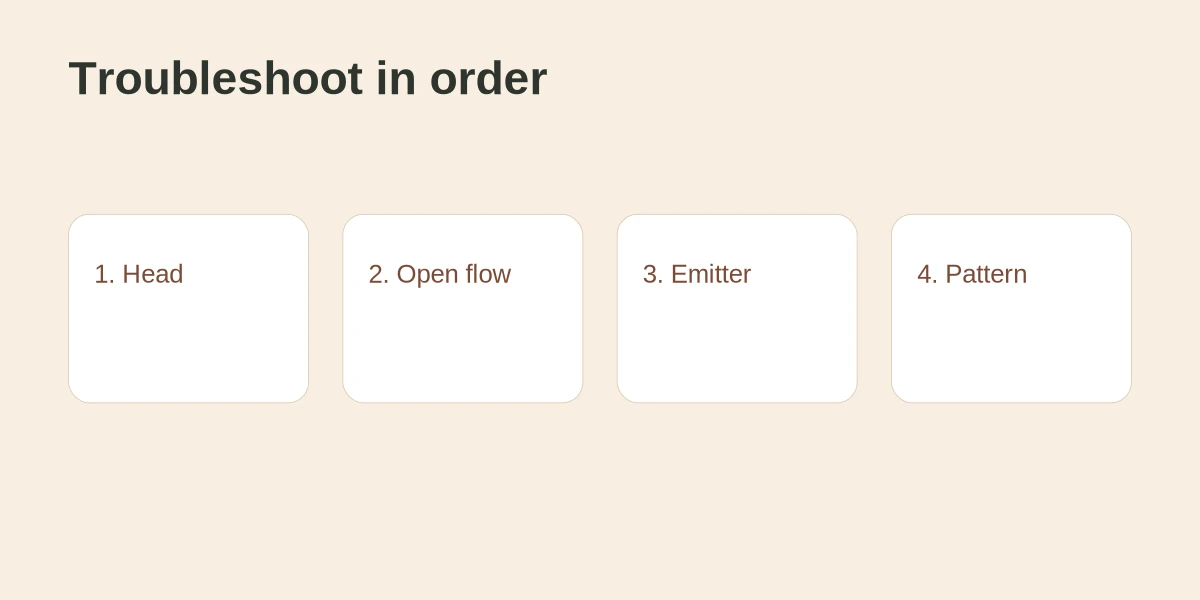
A. Is unrestricted line flow adequate?
B. Is the emitter rated for available pressure?
C. Do all emitters fail similarly?
D. Does the problem worsen at the end or at higher points?
12. Record before replacing parts
Write down water-surface-to-emitter height, full and low water levels, line length and diameter, emitter model, stated minimum pressure, number of active emitters, measured flow at the start/middle/end, filter condition and results before and after flushing.
That turns “the drip system barely works” into a testable problem.
FAQ
How high does a gravity tank need to be?
There is no universal height. It depends on the emitter minimum pressure, layout and system losses. Estimate pressure from vertical head and compare it with component specifications.
Do pressure-compensating emitters work with gravity?
Some require more pressure than small tanks can provide. Check the operating range for the exact model.
Can I remove the filter to gain pressure?
That is not a good general solution. Filtration protects narrow emitter passages. First determine whether the filter is clogged or poorly sized.
Why do the first emitters deliver more water?
Friction losses, elevation and clogging can all create that pattern. Measure multiple points rather than assuming one cause.
How can I detect partial clogging?
Collect discharge for a known time and compare similar emitters and previous measurements.
Conclusion
In a gravity-fed drip system, “there is water in the tank” does not mean “there is enough pressure at every emitter.” A useful diagnosis follows the sequence head height → available pressure → emitter compatibility → open-line flow → measurements → filtration and clogging → system distribution.