
The essentials
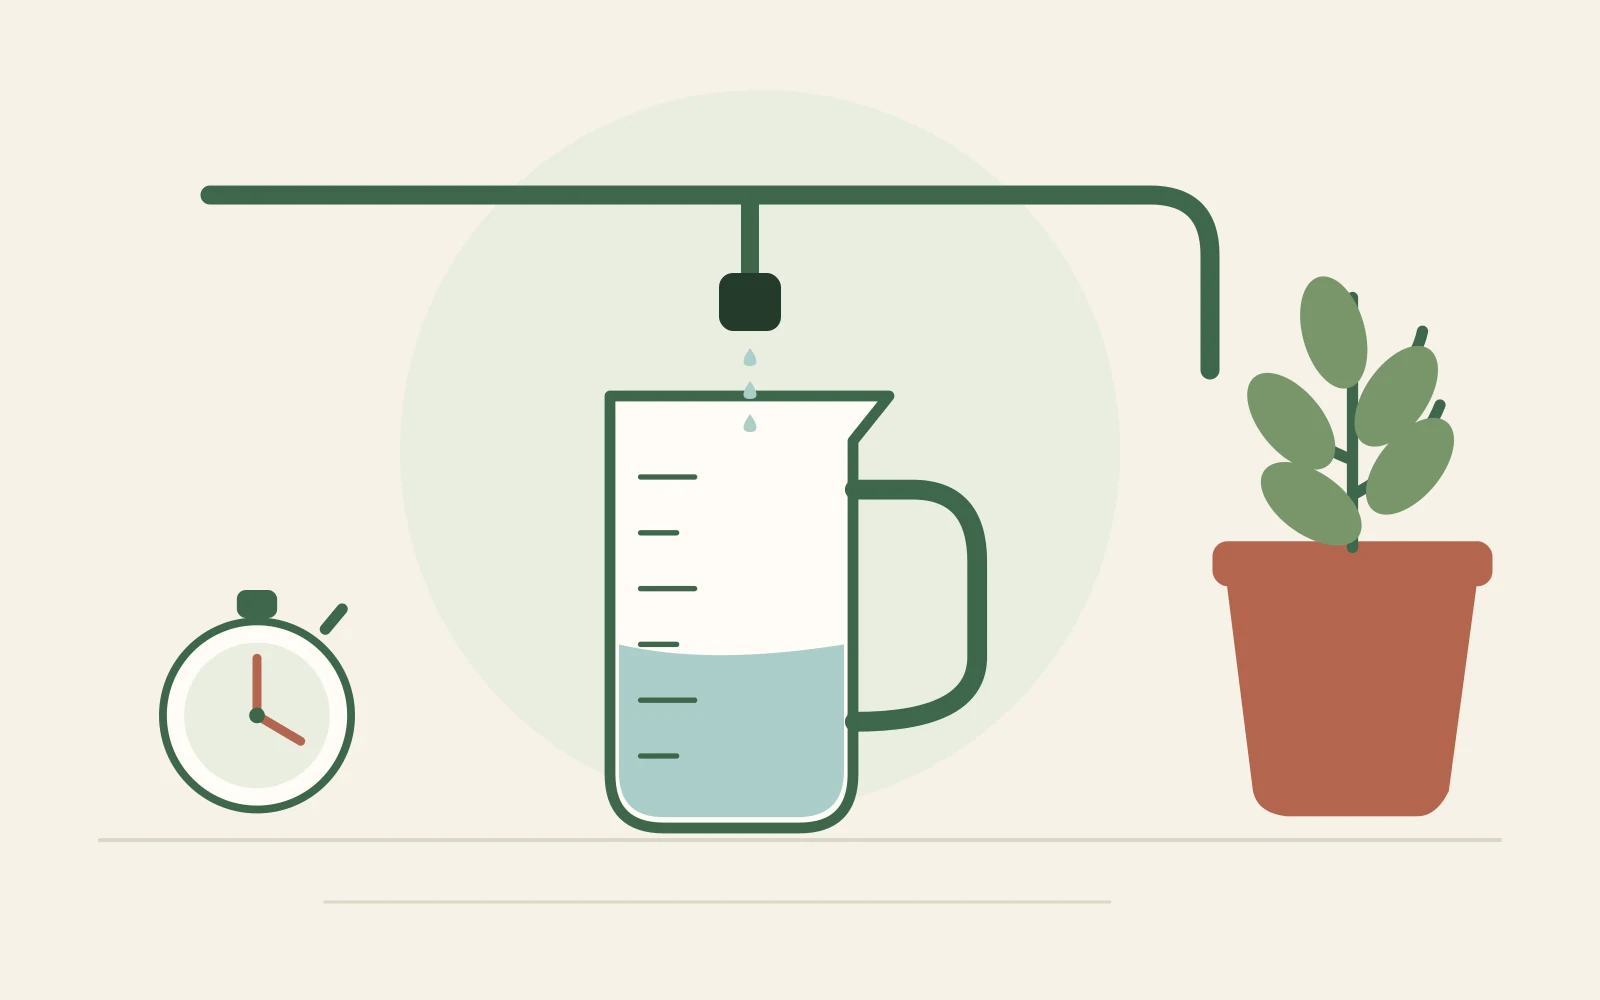
To measure a drip emitter’s flow rate, collect its water for a known time while the system runs normally. Measure the volume, divide by the collection time and convert the units. Keep the emitter connected: a test of the open supply tube answers a different question. Timed collection is an established way to measure emitter discharge.[1]
This guide is for accessible drippers on a small container garden. It explains how to get useful readings, compare outlets without hiding a problem, and recognise when a full-cycle volume is more useful than a steady-flow figure.
First decide what you are measuring
| Your question | What to collect | What to record |
|---|---|---|
| What is the flow while the system runs steadily? | Water from one connected emitter during a timed interval after startup has settled. | mL collected and elapsed seconds; then calculate L/h. |
| How much water reaches this outlet in one programmed cycle? | All water from that outlet from cycle activation until delivery stops, including any after-run discharge. | mL per complete cycle, the programmed duration and any delay or trailing flow. |
Line filling and drainage can matter in short pulses. Anti-drain emitters are specifically designed to limit the drainage/refill effect, but not every installation has them. A steady-flow measurement multiplied by the timer setting may therefore differ from the actual cycle volume.[4]
What you need
Use a clean, readable measuring jug or graduated cylinder, a timer that displays seconds, a stable support and a way to label the outlet. A shallow collecting container plus a separate measuring cylinder can help where access is tight. Transfer the entire catch; spills invalidate that reading.
Check the interval between graduations, not just the vessel’s capacity. Choose a scale on which the collected volume can be read sensibly, within its marked range. A jug marked every 100 mL cannot support claims that two catches differ by just 2 mL.[10]
For an accessible home setup, use containers that stand securely and keep water away from electrical connections. Do not move a heavy reservoir or reach outside a balcony to make this test. If an outlet cannot be caught without disturbing the setup, document that limitation rather than presenting the result as unchanged operation.
Measure an emitter in six steps
1. Identify the outlet and the conditions
Give the emitter an ID and note its position, type or adjustment, source of water and reservoir level. Record whether this is an as-found check or a check after maintenance. Keep those two sets of readings separate; otherwise an improvement or deterioration has no clear baseline.
2. Run the actual watering zone
Use the normal supply and the normal set of operating outlets. Do not shut every other dripper simply to make collection easier. For a steady-flow test, allow startup to settle as permitted by the system’s instructions. Pressure and elevation affect discharge, so avoid changing the hydraulic arrangement for the test.[2]
3. Catch the water without removing the dripper
Place the collector below the outlet, retaining its normal height and adjustment. Do not disconnect the emitter, squeeze its tube or extend the outlet with an unverified narrow hose. Keep the discharge clear of the water surface rather than submerging it. For an inline outlet, catch that outlet alone; label a combined catch as combined.

4. Start and stop the collection together with the timer
Begin timing when the collector starts receiving the discharge. End the catch at the recorded elapsed time, rather than leaving it under the dripper while you stop the clock or write. Record actual seconds: 2 minutes 30 seconds is 150 seconds, not 2.30 minutes. A spill, overflow or interrupted supply calls for a new reading.[8]
5. Read and record the volume
Place the measuring vessel level and read the scale at eye level. With a clear water meniscus in a suitable graduated vessel, use the bottom of the curve and follow the vessel’s reading instructions. Record mL and seconds immediately, before emptying the container.[10][11]
6. Repeat and then check other outlets
As a practical repeatability check, take three readings of the same emitter under comparable conditions. Three is this guide’s suggested starting point, not an audit standard. Keep each reading, including an unexpected one. Then label and measure other outlets; those are different emitters, not further repeats of the first.
A professional uniformity assessment needs a sampling plan across the irrigated zone. For a small accessible pot collection, checking every outlet is often practical; at minimum do not select only the drippers that look good. A handful of home readings is not a certified uniformity result.[2]
Convert the catch to litres per hour
| Volume and time recorded | Formula for L/h |
|---|---|
| mL and seconds | volume × 3.6 ÷ seconds |
| mL and minutes | volume × 0.06 ÷ minutes |
| L and seconds | volume × 3600 ÷ seconds |
| L and minutes | volume × 60 ÷ minutes |
These formulas are the same volume-per-time calculation in different units: 1,000 mL = 1 L and 3,600 seconds = 1 hour. Keep full precision while calculating, then round the result to a sensible level for the measurement. Extra decimal places do not improve the jug or timer.[5]

A second example: a 150-second catch
Suppose you collect 75 mL in 2 minutes 30 seconds. Using seconds: 75 × 3.6 ÷ 150 = 1.8 L/h. Using minutes: 75 × 0.06 ÷ 2.5 = 1.8 L/h. Both describe the same hypothetical reading.
Using gallons? Name the gallon
A US liquid gallon is about 3.785412 L; an Imperial gallon is 4.54609 L. Divide L/h by the relevant value to obtain that type of gal/h. At 2 L/h, the result is about 0.528 US gal/h or 0.440 Imperial gal/h. Do not mix US and Imperial fluid-ounce scales.[5]
Compare repeats and different emitters separately
Before comparing a reading with a label, check what its flow rating describes: it may be per emitter or per length of tubing. Do not compare one outlet with a nominal rate for an entire line.[9]
| Repeat | Volume / elapsed time | Calculated flow |
|---|---|---|
| 1 | 95 mL / 180 s | 1.90 L/h |
| 2 | 100 mL / 180 s | 2.00 L/h |
| 3 | 105 mL / 180 s | 2.10 L/h |
For these equal-duration repeats, the mean is 2.00 L/h. Report the observed 1.90–2.10 L/h range as well; it is not a statistical confidence interval or a declaration of accuracy. If the readings drift in one direction, check conditions before treating the mean as representative.
When repeat durations differ, a time-weighted combined rate is total collected volume × 3.6 ÷ total seconds. Keep the individual rates too. Pool only repeats of the same emitter under comparable conditions, not different emitters whose individual delivery you need to examine.
| Emitter position | Volume in 180 s | Calculated flow |
|---|---|---|
| A · near supply | 100 mL | 2.00 L/h |
| B · middle | 98 mL | 1.96 L/h |
| C · far end | 101 mL | 2.02 L/h |
| D · raised pot | 60 mL | 1.20 L/h |
D deserves a repeat check, but this table does not diagnose why its flow is lower. Do not use the four-outlet average to claim every pot gets the same amount. Check pressure, emitter specification and condition before changing the timer. Deliberately different emitter ratings should be compared with their own intended operation.
A “2 L/h” label is not a promise at any pressure. For pressure-compensating emitters, the manufacturer’s working range still applies. A low reading outside that range does not, on its own, prove a blockage.[3]
For short cycles, record the whole delivered volume
For a full-cycle check, place the collectors before starting the normal programme. Record the commanded start and stop, any delay before water appears, and any water that arrives after switch-off. Collect until the outlet stops delivering. If it never stops, flag that behaviour and investigate it rather than labelling the catch a completed cycle.

Keep the result as mL per outlet per cycle. Do not feed a volume labelled “120 mL per cycle” into a field asking for L/h. Nor should you extrapolate a rate calculated from one cycle to a different cycle length without a new check.
For a gravity supply, repeat under clearly recorded reservoir levels: changes in water level change the available hydraulic head. Compare like with like and respect the minimum operating level. Do not average a full-tank run and a nearly empty-tank run into an apparently constant system.[2]
Errors that make the result misleading
| Mistake | Better record or action |
|---|---|
| Catching an open tube after removing the emitter | Keep the dripper fitted; identify the actual outlet measured. |
| Counting drops using an assumed volume per drop | Measure collected volume instead; no drop-size conversion is assumed. |
| Calling an empty collector a missing reading | If collection was valid and no water arrived, record 0 mL and the duration; a failed test remains invalid, not zero. |
| Collecting two outlets into one jug but recording “one emitter” | Measure separately or clearly record a combined flow. Never assign the combined rate to each emitter. |
| Comparing volumes collected over different durations | Convert each catch to a rate before comparing. |
| Treating repeated identical readings as proof of accuracy | Check the scale, timing and method; a consistent error can repeat. |
If a reading is too small for your vessel, use a more suitable scale or a longer permitted steady interval. For illustration, a 2 mL reading difference is 10% of a 20 mL catch but 2% of a 100 mL catch. This arithmetic shows why scale matters; it is not a full uncertainty estimate.
Record the result and use it without double-counting
Keep an outlet ID, test mode, date, system state, reservoir level or measured pressure, emitter adjustment, repeat number, elapsed seconds and collected mL. Add a note for leaks, splashes or unstable delivery. Recheck after changing the configuration, and retain the earlier log as a different setup.
Companion resource: a measurement record for noting conditions and individual catches. Record the same fields on paper if the companion sheet is not available.
In the planner, flow belongs to one emitter. Enter pots and emitters per pot separately. Hypothetical example: two emitters at 2 L/h on one pot give a combined 4 L/h; 10 minutes at that constant rate would deliver about 0.67 L. That is delivered water, not a recommended amount for the pot.
The useful outcome is a reproducible record: which outlet, under which conditions, delivered what volume in what time. Keep that record alongside your separate observations of growing-medium moisture and drainage.
Frequently asked questions
How long should I collect water?
There is no single compulsory duration. Choose a permitted interval that gives a clearly readable catch without overflow or prolonged unnecessary watering. For a brief automatic programme, collect the whole cycle and label the result as cycle volume, not a steady-flow test.
Can I use a kitchen measuring jug?
Yes, provided the scale is suitable for the amount collected. Check the smallest graduation. A more finely graduated vessel is useful for small volumes; printing more decimal places cannot compensate for a coarse scale.[10]
Does testing the tap tell me the dripper’s flow?
No. The tap or supply test measures available supply under its test conditions. The emitter test measures discharge at a particular outlet with the installation operating. Both use volume divided by time, but answer different questions.[6]
Is 2 L/h how much the plant needs each hour?
No. It describes emitter output per hour under the relevant conditions. Plant water requirements depend on factors beyond emitter flow; this measurement does not set watering frequency or diagnose plant health.[6][7]
Does one low reading mean the emitter is blocked?
Not necessarily. First repeat a valid collection and check the operating conditions. Pressure differences and emitter characteristics can also affect delivery. A measurement is evidence of discharge, not a complete diagnosis.[2]
Sources and documentation
- University of California Agriculture and Natural Resources — Emitter Evaluations.
- University of Florida IFAS Extension — Field Evaluation of Microirrigation Water Application Uniformity — AE094.
- Netafim — Drip Irrigation: Understanding the Basics.
- Netafim — PCJ™ Online Dripper.
- National Institute of Standards and Technology — Guide for the Use of the International System of Units — Appendix B.8.
- Utah State University Extension — The Do-It-Yourself Guide to Backyard Drip Irrigation.
- Royal Horticultural Society — Container maintenance.
- SGS — Cómo realizar la medición del caudal.
- Oklahoma State University Extension — Drip Irrigation Systems.
- Carolina Biological Supply Company — How to Use a Graduated Cylinder.
- National Institute of Standards and Technology — GMP 3: Method of Reading a Meniscus Using Water or Other Wetting Liquid.