
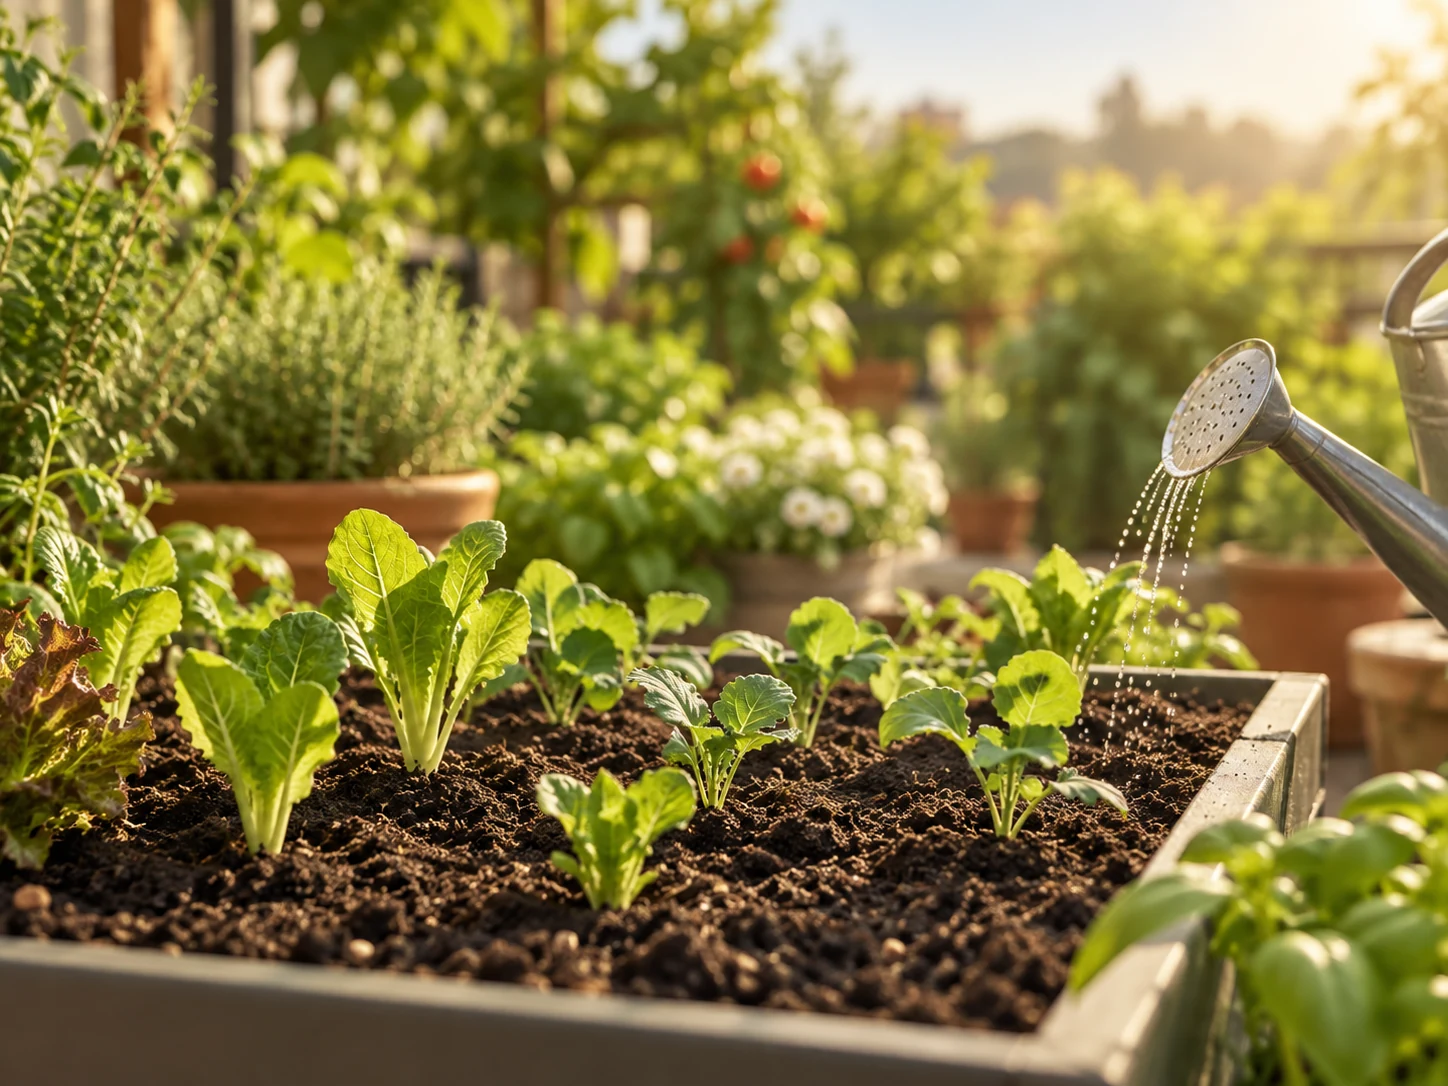
Before buying, picture a garden you can maintain.
You do not need a full terrace. One container is a valid start; two or three is a way to organise learning, not a biological minimum. Your first decision is not what to buy, but what fits your space and your routine.
This article covers outdoor vegetables and culinary herbs. It does not prescribe a worldwide planting calendar, a fixed water dose or one universal growing-mix recipe. [1]
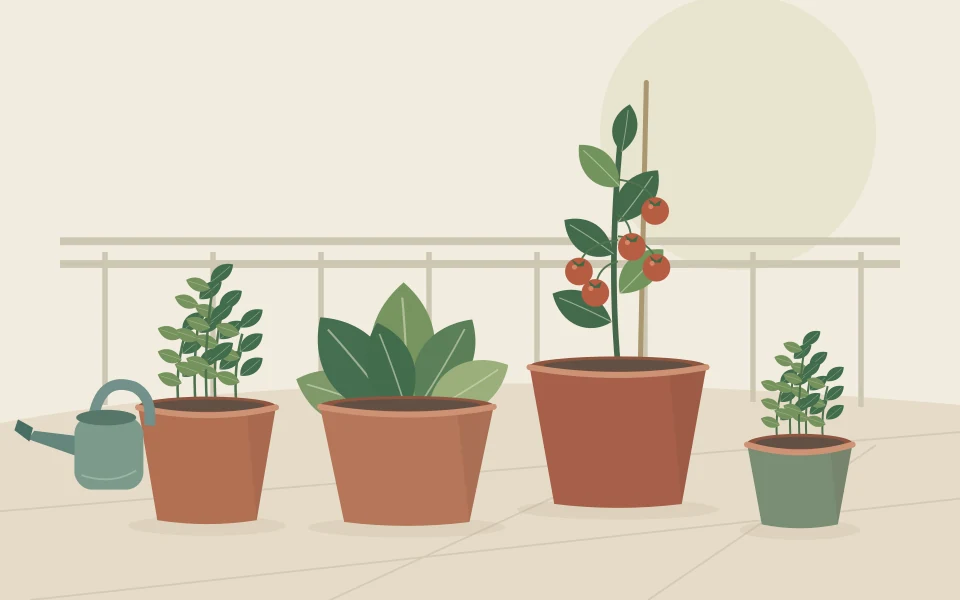
Quick answer
Start with the site, not the shopping list. Check direct sun, water access and usable space first, then choose a few containers that are large enough for the crops you actually want to grow. Use a light, well-drained potting mix, make drainage non-negotiable, and plan how the pots will be watered before the hottest part of the season.
| What to check | Why it matters |
|---|---|
| Sun & access | Observe where direct sun falls and whether every pot can be reached easily. |
| Containers | Match pot depth and volume to the crop instead of choosing by appearance alone. |
| Growing mix | Use a container mix that balances moisture, drainage and air. |
| Watering | Decide how the pots will be watered on normal days and while you are away. |
To start a container vegetable garden, check direct sunlight and water access first. Then choose a few crops suited to your growing season, match them to suitable containers, and plan the growing mix and care routine. You do not need to decide everything you will ever grow: you need a first setup you can look after.
This guide covers outdoor vegetables and culinary herbs on balconies, patios and terraces. It does not prescribe a worldwide planting calendar, a fixed water allowance or one potting-mix recipe for every situation.
Read your space
Before falling in love with a plant, get to know its future home. Sketch access routes, your water source and the position of each container.
Direct sun, not just brightness
Note when sunlight reaches and leaves that spot. Repeat your observation: one morning does not describe the whole season.
A routine you can repeat
Work out how water reaches the pot and where the excess goes. Do not put one pot behind another if you cannot reach it.
Room to grow and move
Allow for the mature plant, any support and doors opening. Something manageable when empty may not be so once filled.
Sketch the door, access route, proposed containers and route from your water source. Mark where you can reach plants without moving other pots. Add an alternative position for each container; this helps reveal when your plans require more usable space than you have.
As a reference, Maryland suggests around 6–8 hours of direct sun for warm-season fruiting crops; some leafy crops tolerate less. Season and heat matter: this is guidance, not a guarantee. Ambient brightness and direct sunlight are not equivalent.[1]
Record when direct sun reaches and leaves the exact pot location, not just the balcony. Repeat on another date and identify anything you could not check. Today’s observations describe today; they do not establish the conditions that corner will have throughout the growing season.

Decide where drainage water will go and keep access clear. Resolve important unknowns before buying a system that commits you to a particular layout.
Choose your crops
Make a short list of foods you actually use. These four options are candidates to investigate, not a planting recipe for every location.
Select a crop to see what to check.
A crop of leaves
Check the variety, local season and harvest goal. A young plant does not establish how much space it will need later.
Heat can encourage bolting. Do not automatically transfer a calendar from another region. [1]
Variety matters
Choose a named variety and check sowing depth, spacing and timing in its instructions.
A small radish and a long-rooted variety do not necessarily need the same container. [1]
An herb worth observing
Decide whether to start with seeds or a young plant and keep its identification. Plan for mature growth.
Germination may be slow. Do not mistake a normal wait for failure. [1]
One fruit, several decisions
Confirm the growth habit, your local growing conditions and the container and support requirements.
“Cherry” describes the fruit; it does not guarantee a small plant. [1]
The growing season is local. An article’s language does not determine your climate. Check timing against local guidance and your chosen variety.
Make a short list of foods you actually use. For each candidate, note the variety, local sowing or planting window, mature growth habit and who will care for it. Remove candidates that do not fit. Do not buy the most attractive pot first and then try to make any crop fit it.
| Crop | What to know | Decision for your plan |
|---|---|---|
| Loose-leaf lettuce | It can grow in containers; heat can encourage bolting. | Check variety and local season before assigning a planter. |
| Small-rooted radish | Direct sowing and room between plants matter. | Choose a named variety; a small radish and a long-rooted type are not equivalent. |
| Parsley | It can grow in pots and may germinate slowly. | Choose seeds or a young plant without treating a normal wait as failure. |
| Compact tomato | Fruit size and plant growth habit are different traits. | Check height, support and container requirements; “cherry” does not mean dwarf. |
For your first setup, we suggest choosing one option you particularly want and a second compatible with your space. You do not need all four. Mark a field as “to check” when you do not have variety information rather than filling it with the description of a similar-looking plant.
Decide whether you want baby leaves or a plant grown to its full size. Write that goal down. These are different aims: a photograph of young leaves does not establish a container’s suitability for mature plants.
Find the right pot
Match the container to the crop, not the other way around. Compare usable dimensions: two pots of the same volume can have very different shapes and stability.
Three checks.
Roots
Usable depth and surface area. A root ball fitting is not enough.
Water
Drainage outlet or overflow appropriate to the container design.
Mature plant
Space, balance and support where needed.
A stone layer does not replace drainage holes. With a reservoir system, follow its instructions and overflow design. Do not reuse containers that held paint or chemicals. [2]
Read more: container size for vegetablesCheck the selected variety’s requirements against usable depth, surface area, capacity and stability. A tall narrow pot is not equivalent to a wide one just because both advertise the same volume. Plant count matters too; fitting a root ball into a pot does not establish that there is room for the crop.[4]
A conventional pot needs an outlet for excess water. Do not add a stone layer assuming it replaces drainage holes. Maryland’s planting guidance advises against filling the bottom with gravel as a general practice. Self-watering containers are different designs: follow their instructions, including overflow arrangements.[3][4]
Do not reuse containers that held paint, detergents or other chemicals for edible crops. Check material and previous use; looking clean is not enough.[1]

Record which dimensions the seller provides and which you measured. Keep the label. In a reservoir kit, do not assume every advertised litre is available for potting mix: identify the water compartment, root zone and any space that must remain unfilled.
Choose growing media
Roots need water and air as well as support. Start with a container-growing mix suitable for your crop and read the label before adding other products.
Check intended use
It should suit the crop and the container.
Read feeding information
Record included fertiliser and follow the instructions.
Keep a reference
Save the name, quantity and product instructions.
You do not need to begin by blending five ingredients. Nor should you assume garden soil will behave the same way inside a pot. [3]
For a first setup, we suggest a labelled container-growing mix appropriate to your crop. Soil dug from the garden can be too dense in a pot. Growing media must support the plant while allowing water and air around roots; looking fertile is not enough.[2]
Read the intended use and any included fertiliser information. Do not automatically combine several products labelled “for vegetables”. Match additions to the label, the mix’s existing nutrients and the crop. University of Minnesota guidance stresses following instructions to avoid fertiliser injury.[10]
Record the mix name, purchased volume and any declared fertiliser addition. Keep a reference to the instructions, not a dose copied from a different bag. This gives you a record of what you applied rather than relying on memory when reviewing the setup.
Draw your first setup
Two ways to organise your first decisions. These are planning suggestions, not companion-planting trials or yield guarantees.
Leaves + an herb
One container for lettuce and another for parsley.
One fruiting plant
One compact tomato in its own container.
Leaving a third pot unassigned is a valid decision too. You do not need to fill every gap.
These two examples are organisational suggestions, not field trials or companion-planting recommendations. Manage each container separately. Choose whichever resembles your conditions, and change or remove any crop that does not fit your season or its variety guidance.
| Plan | Proposed arrangement | What remains to check |
|---|---|---|
| A · Leaves and an herb | One container for loose-leaf lettuce and another for parsley. | Suitable season, variety, pot dimensions and easy access to both containers. |
| B · One fruiting plant | One compact tomato in its own container. A second pot only if you can maintain it. | Suitable sun and temperatures, mature space, support and watering checks. |
Label pots A, B and C. Give each container its own line and write “unassigned” wherever you have not chosen a plant. That gap is not a planning failure: it can prevent an impulse purchase that later competes for the same space.

Before filling, check that you can reach every position, open the door and remove excess water. Include any support a taller crop would need. If watering the back pot requires lifting a heavy container, revise the drawing before it becomes an installation.
Decide what you would find useful at the end of your first crop cycle: maintaining a record, understanding needed adjustments or harvesting something you use in the kitchen. Do not set a compulsory yield based on an advertising photograph.
Plant with a plan
Seeds and young plants are different starting points. Keep the packet or label and use instructions for that crop and variety, not a similar-looking plant.
Position and check
Set the pot in place, check access and leave the water outlet clear.
Prepare growing media
Follow moistening and filling instructions; avoid excessive compaction.
Sow or transplant
Respect the specified depth and spacing. Fit support if required.
Label and record
Note crop and date. Observe the first watering and record your starting point.
Plants raised under protection may need a gradual transition outdoors. Hardening off does not make a frost-sensitive plant frost-hardy. [4]
Seeds and young plants are different starting points. Compare crop requirements and your available space rather than treating either option as mandatory for beginners. Keep the seed packet or plant label with your worksheet.
- Position the final container and confirm that you can reach it and manage drainage.
- Check the growing-mix instructions and pre-moisten it when required; do not compact it as though building a foundation.
- Identify the variety. For seeds, follow its sowing depth and spacing; for young plants, follow crop-specific transplanting guidance.
- Leave the watering space required by the container. Keep drainage, overflow and reservoir components unobstructed.
- Fit support where needed and label the pot with crop and date.
- Check the first watering and record the starting condition for later comparison.
Plants raised under protection may need a gradual transition outdoors. RHS guidance describes this as hardening off; it does not make a frost-sensitive plant frost-hardy. Find out how the young plants were raised and what transition they need before leaving them in their final position.[11]
Do not plant every species at the same depth because you watched a tomato demonstration. Resolve crop-specific instructions before planting. A dated before-and-after photograph, without appearance-altering filters, provides a more useful record than trying to remember the plant’s condition on arrival.
Water and observe
Checking every day does not mean watering every day.
Check growing-mix moisture and drainage in each container. An observation routine is not a fixed dose; heat, wind and growth change the conditions. [5]
“Pot B, afternoon check: growing mix still moist; no water added; outlet clear.”
A symptom is not a diagnosis. Before adding water, fertiliser or treatments, review the conditions and record what changed.
Container crops depend heavily on the water they receive. Hot periods may require frequent checks, but that does not justify a universal dose. Check growing-mix moisture and drainage in your setup; do not turn “I check daily” into “I always water daily”.[9]
Initially, we suggest regular checks of each container, recording watering, observations and weather changes. Check again after a substantial change such as relocating a pot or expanding the system. Your record need not be lengthy: one precise observation is worth more than an unchecked tick box.
Example note: “Pot B, afternoon check: mix still moist; no water added; outlet clear.” This is hypothetical, not an instruction to water less. It separates observation from action so that you can explain why you made a decision.
After your initial reviews, choose an adjustment to try and record what changed. Avoid altering location, watering and feeding together without notes; you will otherwise struggle to reconstruct what happened. This is a suggested recording method, not a controlled experiment.
Buy what you need
Buy for the plan you have chosen, not for every possibility you might grow one day.
| Decision | Check first | Can wait |
|---|---|---|
| Containers | Dimensions, drainage, material and location. | Extra pots without an assigned crop. |
| Growing mix | Intended use and included fertiliser. | Complex blends without a baseline. |
| Seeds or plants | Variety, season and mature space. | An assortment you cannot maintain. |
| Watering and support | Water access and genuine support needs. | Automation and accessories without a purpose. |
No sponsored products or affiliate links in this preview.
| Item | Check first | Can wait |
|---|---|---|
| Containers | Usable dimensions, drainage, material and location. | Extra pots with no crop assigned. |
| Growing mix | Intended use, quantity and included fertiliser. | Custom blends without a basis for comparison. |
| Seeds or young plants | Variety, local season and mature space. | An assortment you cannot maintain. |
| Manual watering | Water access and a way to remove excess. | Automation before understanding the setup. |
| Labels and support | Plant identification and a genuine need for support. | Decorative accessories or sensors without a defined purpose. |
This version contains no affiliate links or product recommendations. The list supports requirement-based comparisons, not the purchase of a particular kit. Actual cost depends on what you already own, quantities and retailers; this guide invents neither a price nor a savings promise.
Before paying, work through the list for each pot: plant, container, mix, water and maintenance. Leave items without a clear function out of the first purchase. Keep instructions and record substitutions from your original plan.
Your checklist & notes
Turn your reading into a few decisions. Mark what you have checked and keep unknowns visible: you do not need to invent information to complete a list.
Only in this browser when you select “Save”. No account needed; your notes are not sent to a server.
The two-page worksheet collects the decisions without turning the guide into a calculator. Page one records the site and first containers; page two organises materials, unanswered questions and reviews. Download the blank two-page planning worksheet (PDF) and print a copy when you are ready to plan.
Use the sheet to record location, observed sun, crop and variety, container, growing mix, water access and next review on one line per pot.
Start with what you know and distinguish “confirmed” from “to check”. Do not guess sunlight or variety merely to finish the sheet. Its purpose is to make missing information visible.
- I have observed the space and planned water supply and drainage.
- I have identified the variety and checked timing against local guidance.
- I have matched each crop to a suitable container.
- I know which mix I will use and what fertiliser it declares.
- I have set aside time to inspect the plants and record changes.
With these decisions settled, you can begin your setup. Expand when you have a clear reason and can explain what the new pot needs, not simply because an empty space remains.
First-garden questions
Can I start with just one pot?
Yes. Two or three is a suggestion for organising observation, not a requirement. Start with what you can maintain.
Is there an ideal month to start?
There is no date that fits every country and crop. Check local timing and variety. You can prepare the space before sowing.
Are all cherry tomatoes small plants?
No. Fruit size and plant growth habit are different traits. Check the information for the variety.
Do I need automatic watering from the start?
It is not a requirement of this plan. First check whether you can manage manual watering. If you need automation, choose a compatible system and test it before relying on it.
How many pots do I need to start?
You can start with one. Two or three is this guide’s organisational suggestion for manageable observation and recordkeeping. There is no requirement to buy a kit or grow several species at once.
Can I grow vegetables without much direct sunlight?
Some leafy crops tolerate less sun than fruiting crops. Record actual exposure and check the crop: ambient brightness does not equal direct sunlight.[1]
Are all cherry tomatoes suitable for small pots?
No. “Cherry” describes the fruit, not a guaranteed small plant. Check whether the variety is compact or tall-growing, its support needs and its recommended container.[8]
Can I use plain garden soil?
For this first setup, we recommend a suitable container mix. Garden soil can restrict air and water movement in a pot. Do not judge a mix by its appearance instead of reading its label.[2]
Do I need automatic irrigation?
It is not a requirement of this plan. First decide whether you can maintain manual watering and inspect the containers. If you need automation, choose a compatible system and test it before relying on it.
Which month should I start?
There is no single month for every country, crop and variety. Confirm your local growing season and sowing or planting window first. You can prepare your space and worksheet while waiting for suitable conditions.[12]
What do I need for my first container vegetable garden?
A small first setup needs suitable sunlight, containers with drainage, a container-friendly growing mix, reliable access to water and crops that fit the space. Starting with only a few pots makes it easier to learn how quickly your site dries and how much care each crop needs.
What are the best vegetables to grow in pots for beginners?
Leafy greens, herbs and compact fruiting vegetables are often easier starting points because they can be matched to manageable containers. The better choice depends on your available sun, local season, container volume and willingness to water consistently.
How often should vegetables in containers be watered?
There is no safe universal schedule. Container size, crop size, sun, wind, temperature and potting mix all change water use. Check the root zone and learn the drying pattern of each pot rather than watering only by the calendar.
Continue with the next practical step
Use the related guides when the next decision is more specific: vegetable container size guide, potting mix for container vegetables, balcony watering without a tap, self-watering planters vs drip irrigation.Sources and editorial notes
Design proposal based on VETIKA’s existing article. This preview reorganises and summarises its content to demonstrate the components; it does not replace the published version. Images come from the VETIKA design board and are illustrative.
- University of Maryland Extension — Growing Vegetables in Containers and Salad Tables.
- University of Maryland Extension — Growing Media (Potting Soil) for Containers.
- University of Maryland Extension — Planting Vegetables in Containers.
- Royal Horticultural Society — Vegetables in Containers.
- Royal Horticultural Society — How to grow lettuces.
- Royal Horticultural Society — How to grow radishes.
- Royal Horticultural Society — How to grow Parsley.
- Royal Horticultural Society — How to grow Tomatoes.
- Royal Horticultural Society — Getting started with vegetables: watering advice.
- University of Minnesota Extension — Starting your garden and containers off right.
- Royal Horticultural Society — Hardening off tender plants.
- INTA / Argentina.gob.ar — Huerta urbana: ocho claves para producir alimentos todo el año.